The earliest practice-based research for my PhD explored classic tape-based musique concrète techniques, e.g. cutting, splicing, copying, reversing, looping, processing and re-recording, tape speed manipulation. The tools of the trade and equipment have changed little since Schaeffer and Henry were working like this in the 1950s and 60s. After much experimenting with different techniques, my plan was to make a track using materials from the endless cassettes of the sound installation What Are the Benefits of Sound? I did create two synchronised loops towards this, but the track itself was never finished. This work did generate insights into the nature of the practice, and was important in forming know-how necessary for aspects of the tape pop production that followed later.
Melody
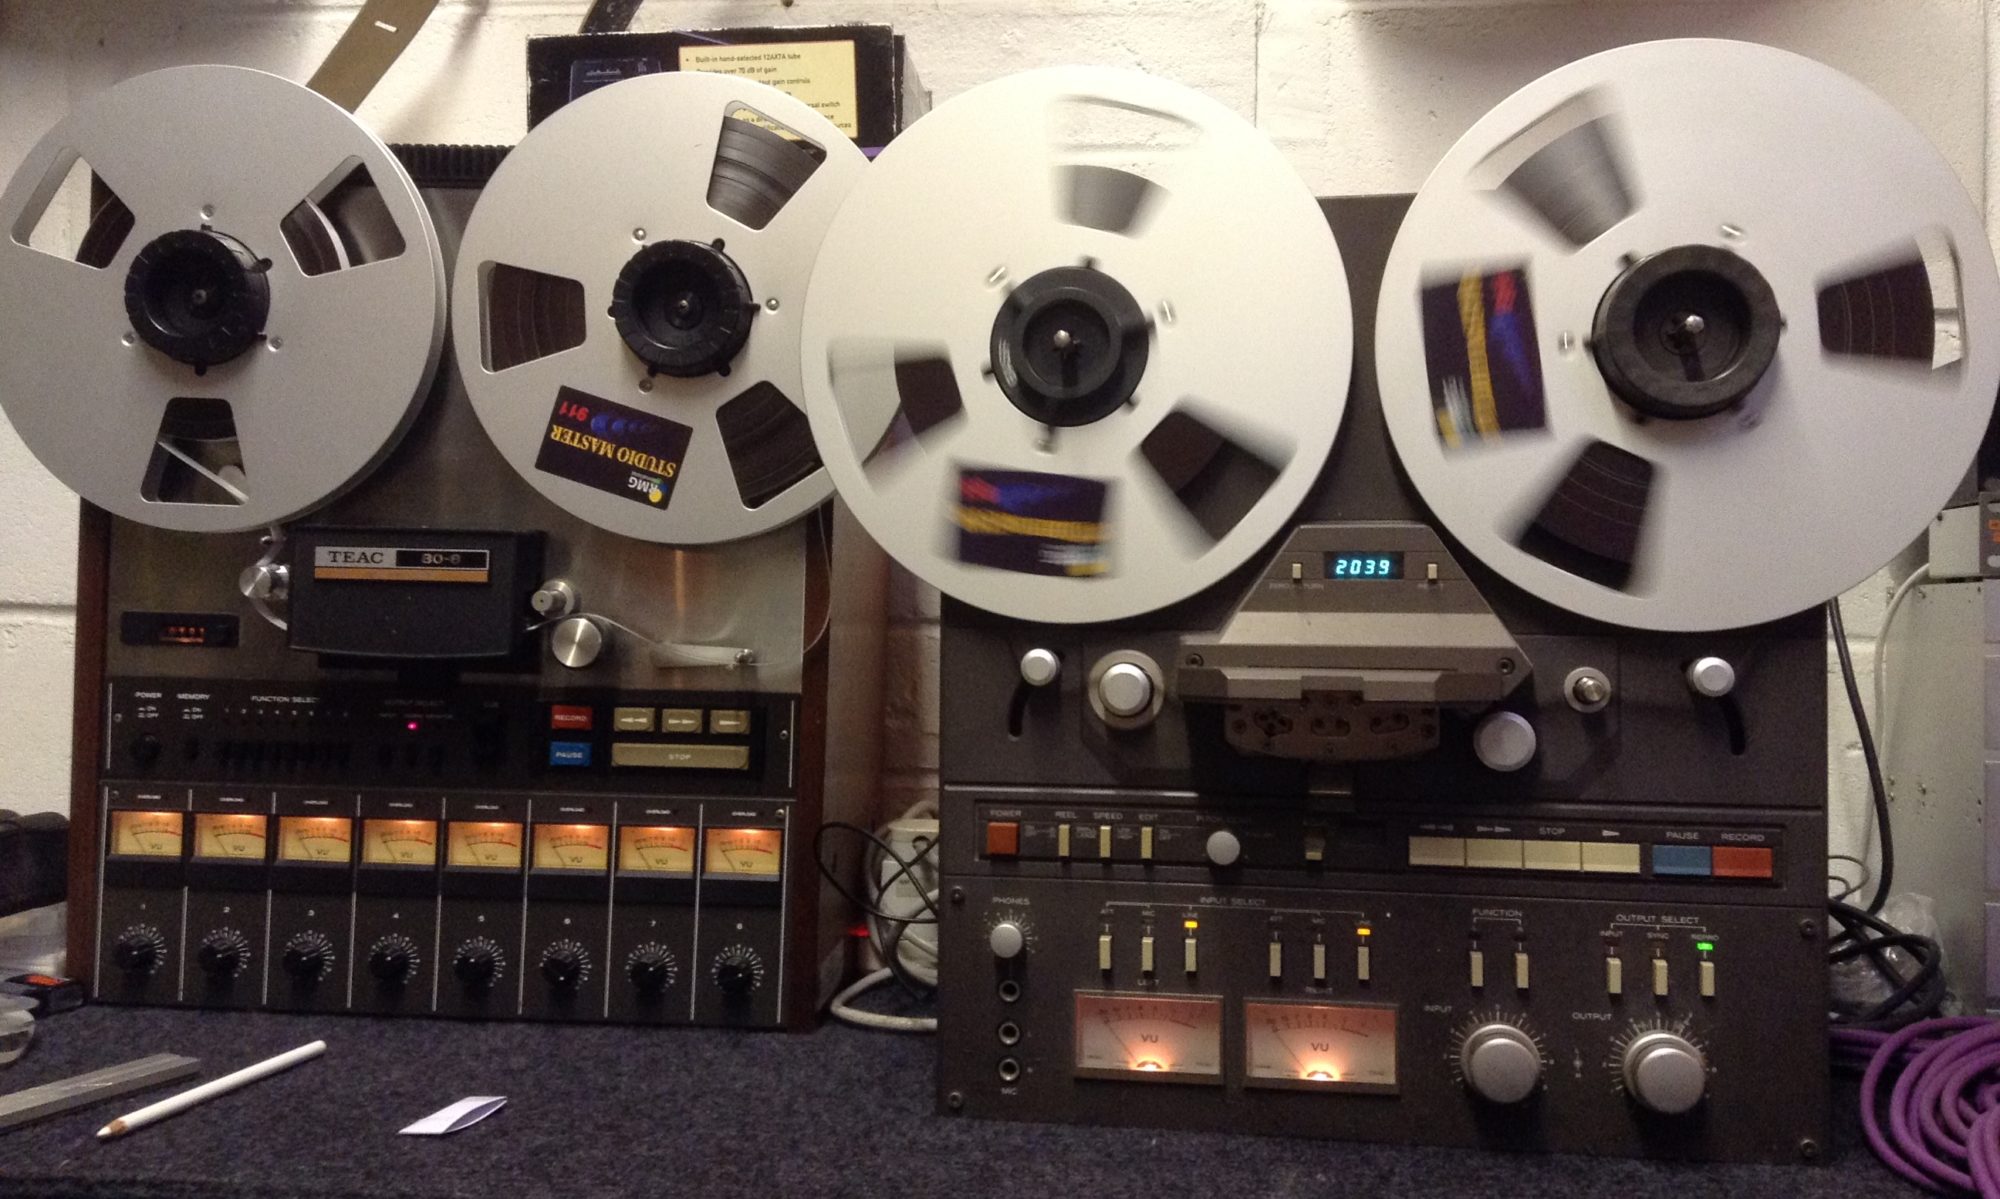
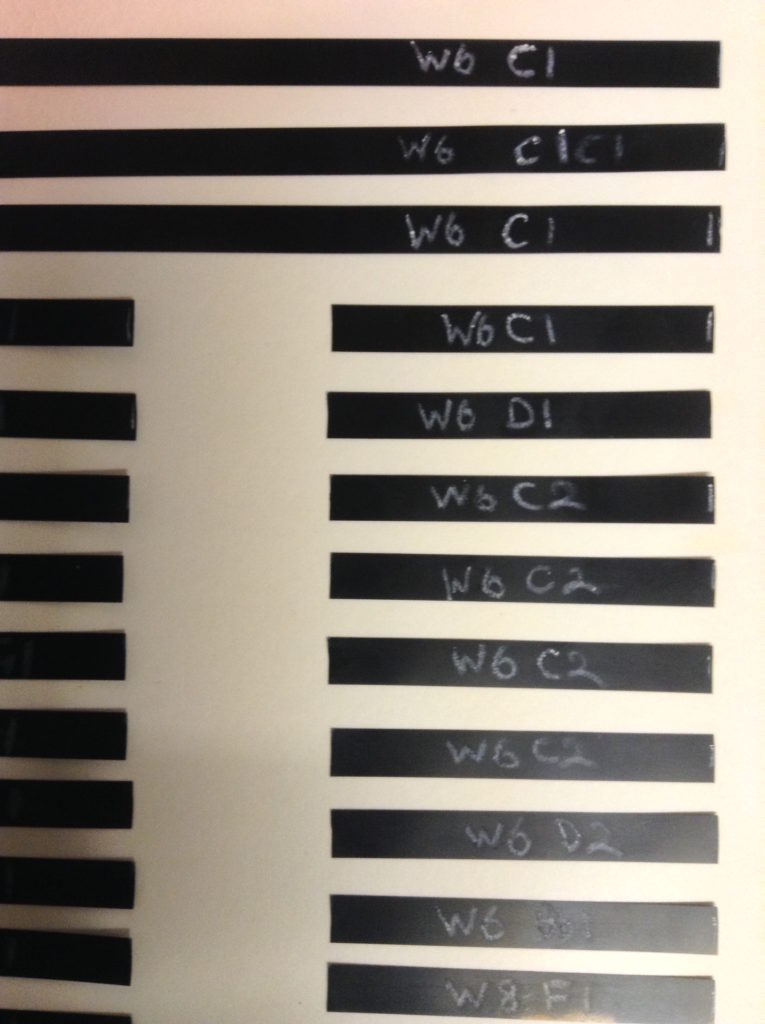
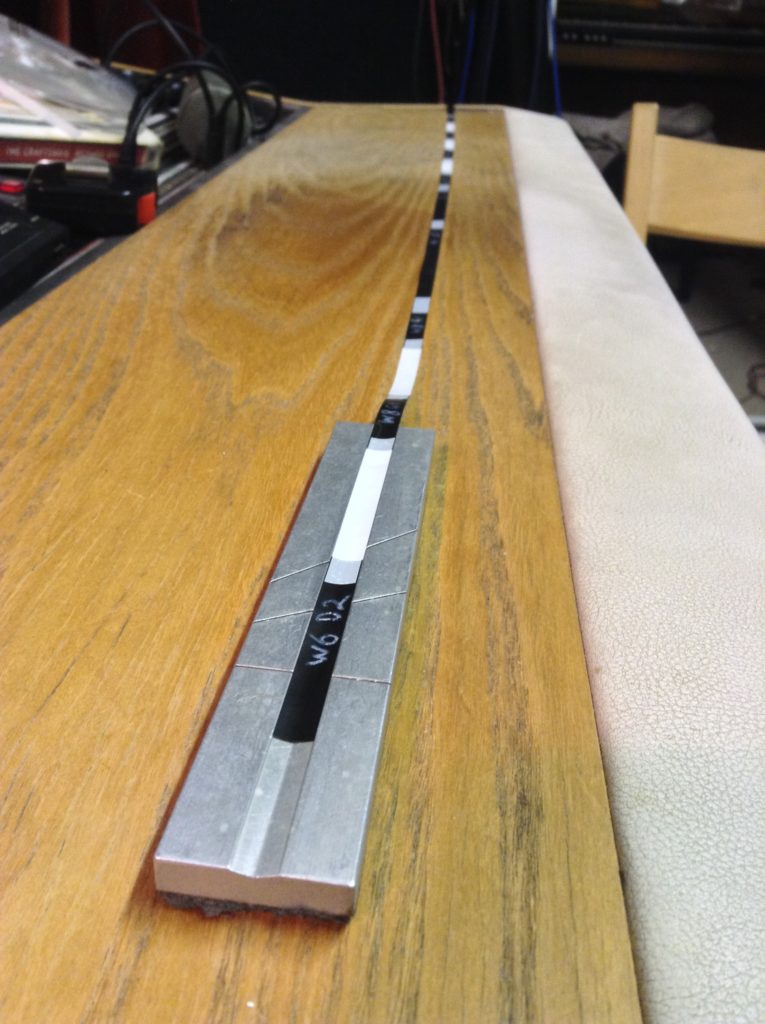
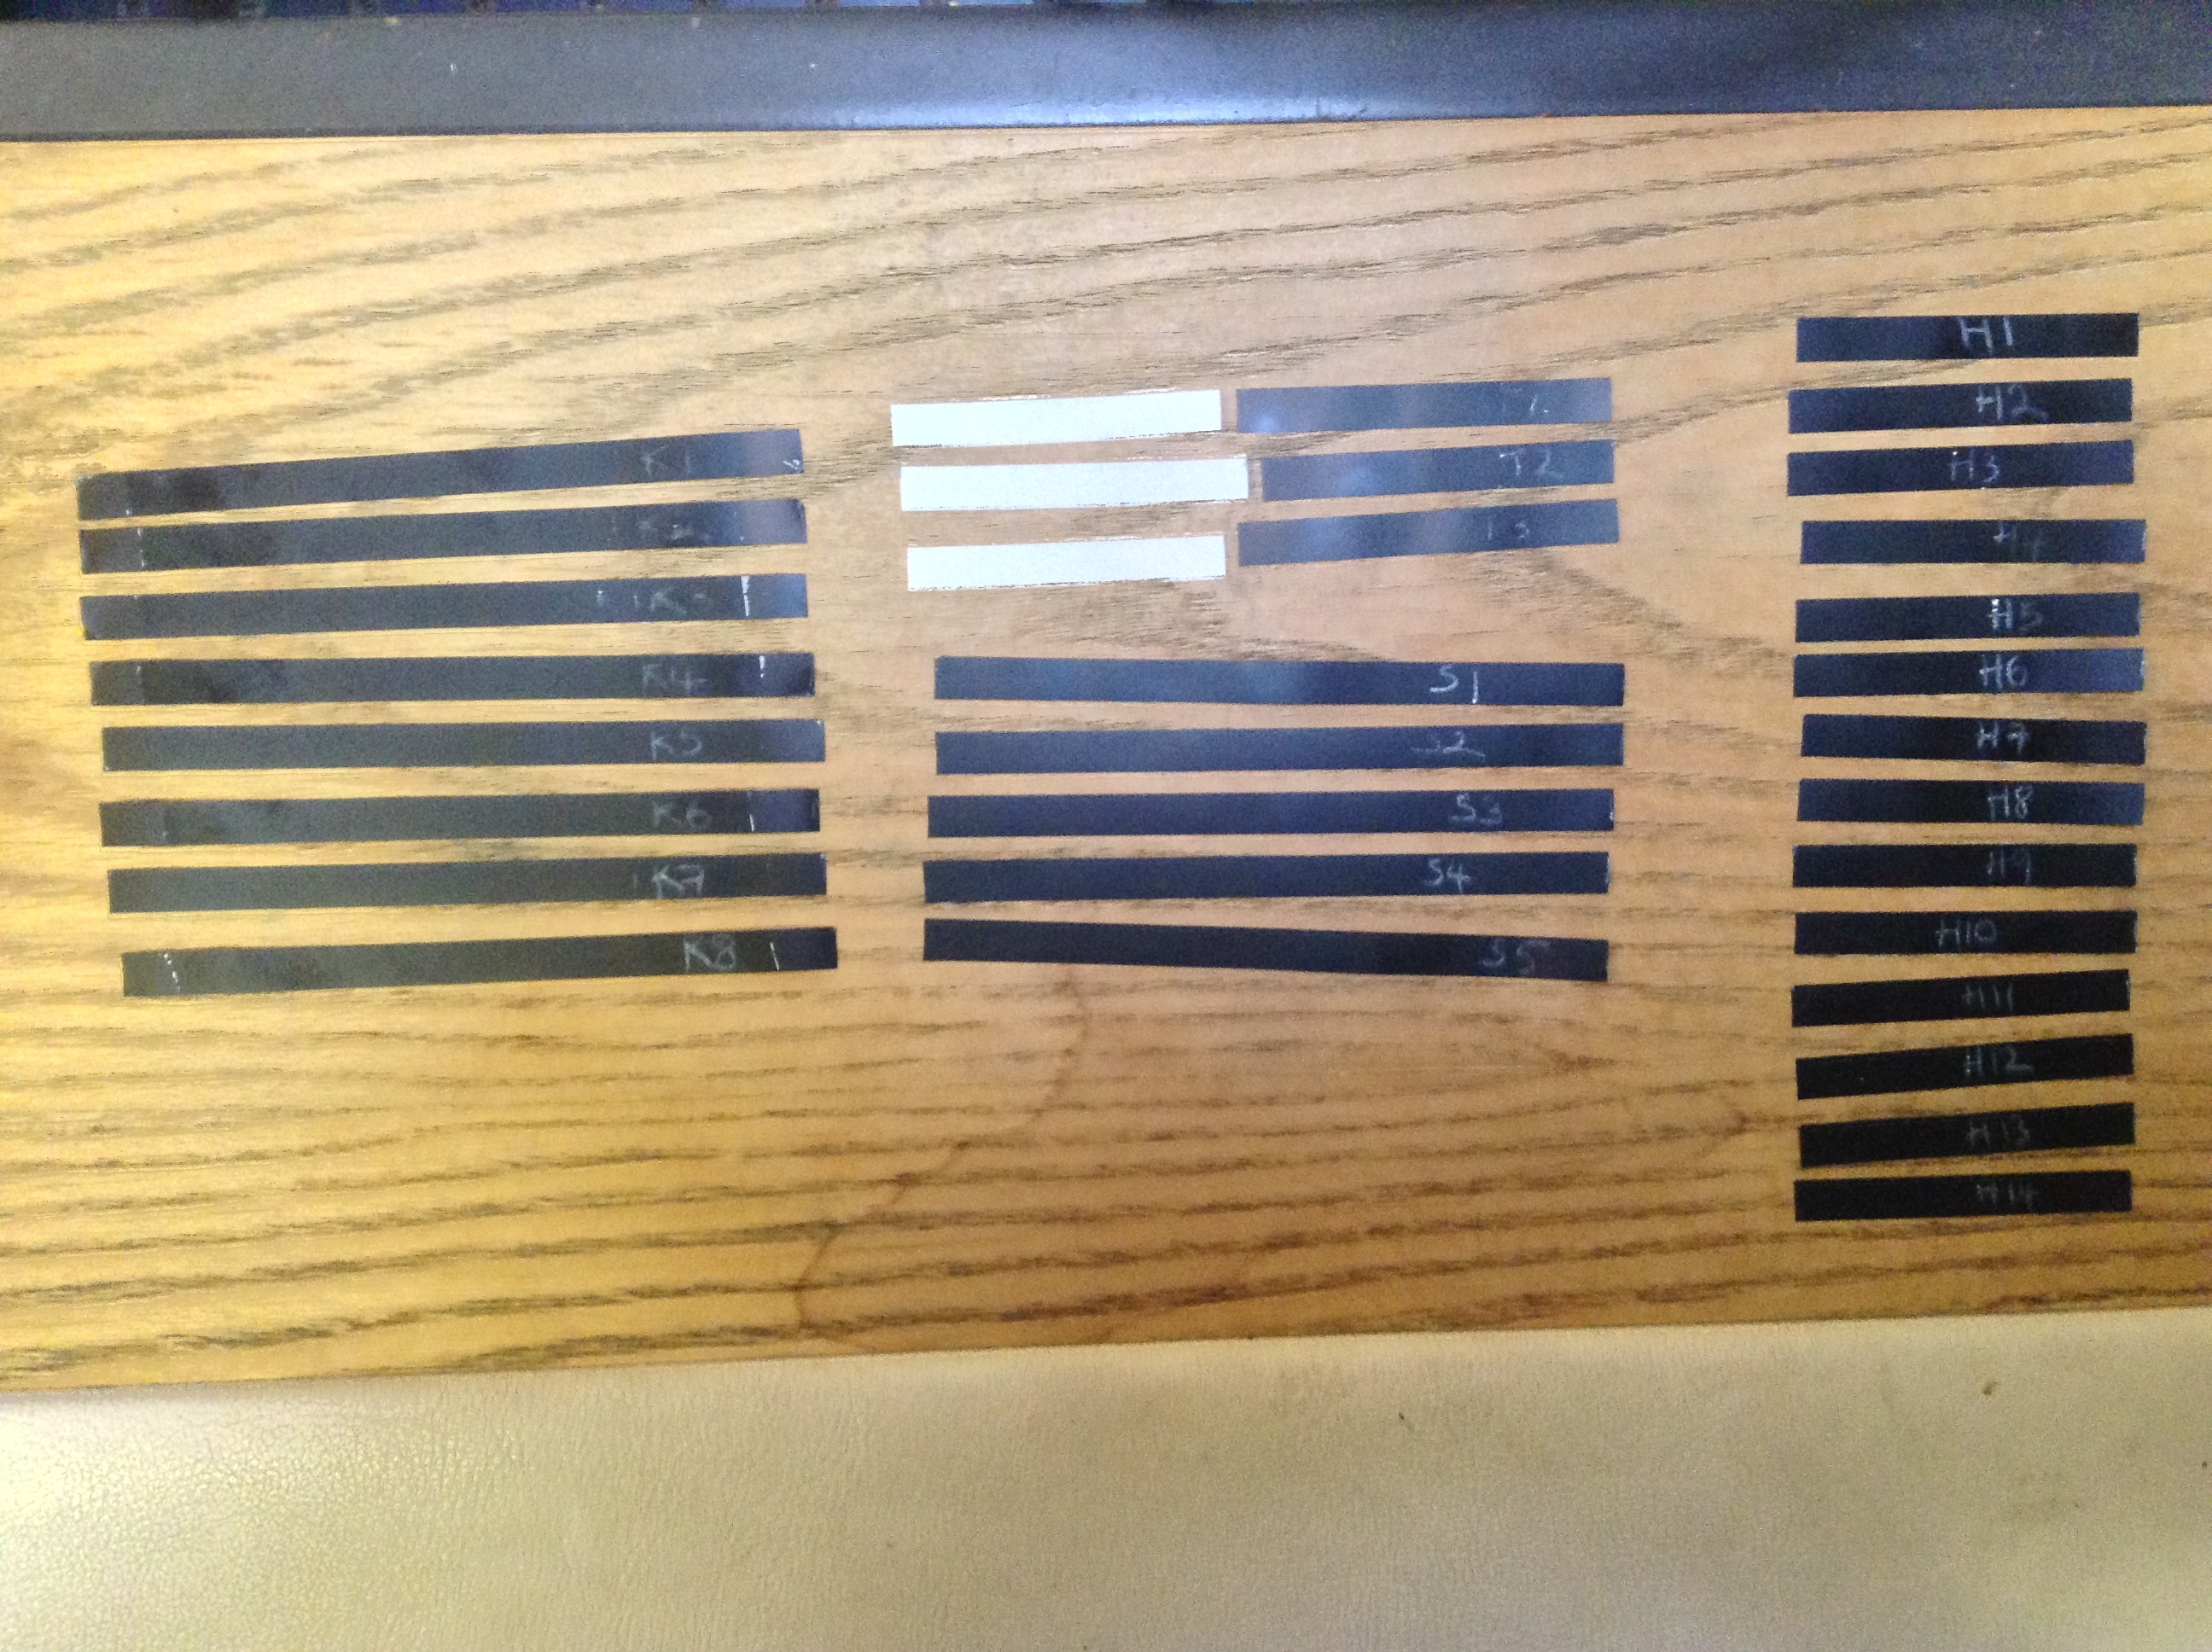
The endless cassettes from What Are the Benefits of Sound? were recorded onto reel to reel. Promising individual notes were cut from the tape, put into short loops and re-recorded using various combinations of compression and EQ. These individual notes were then cut to exact length and labelled, together with pieces of leader (blank) tape for the rests (gaps in the melody).
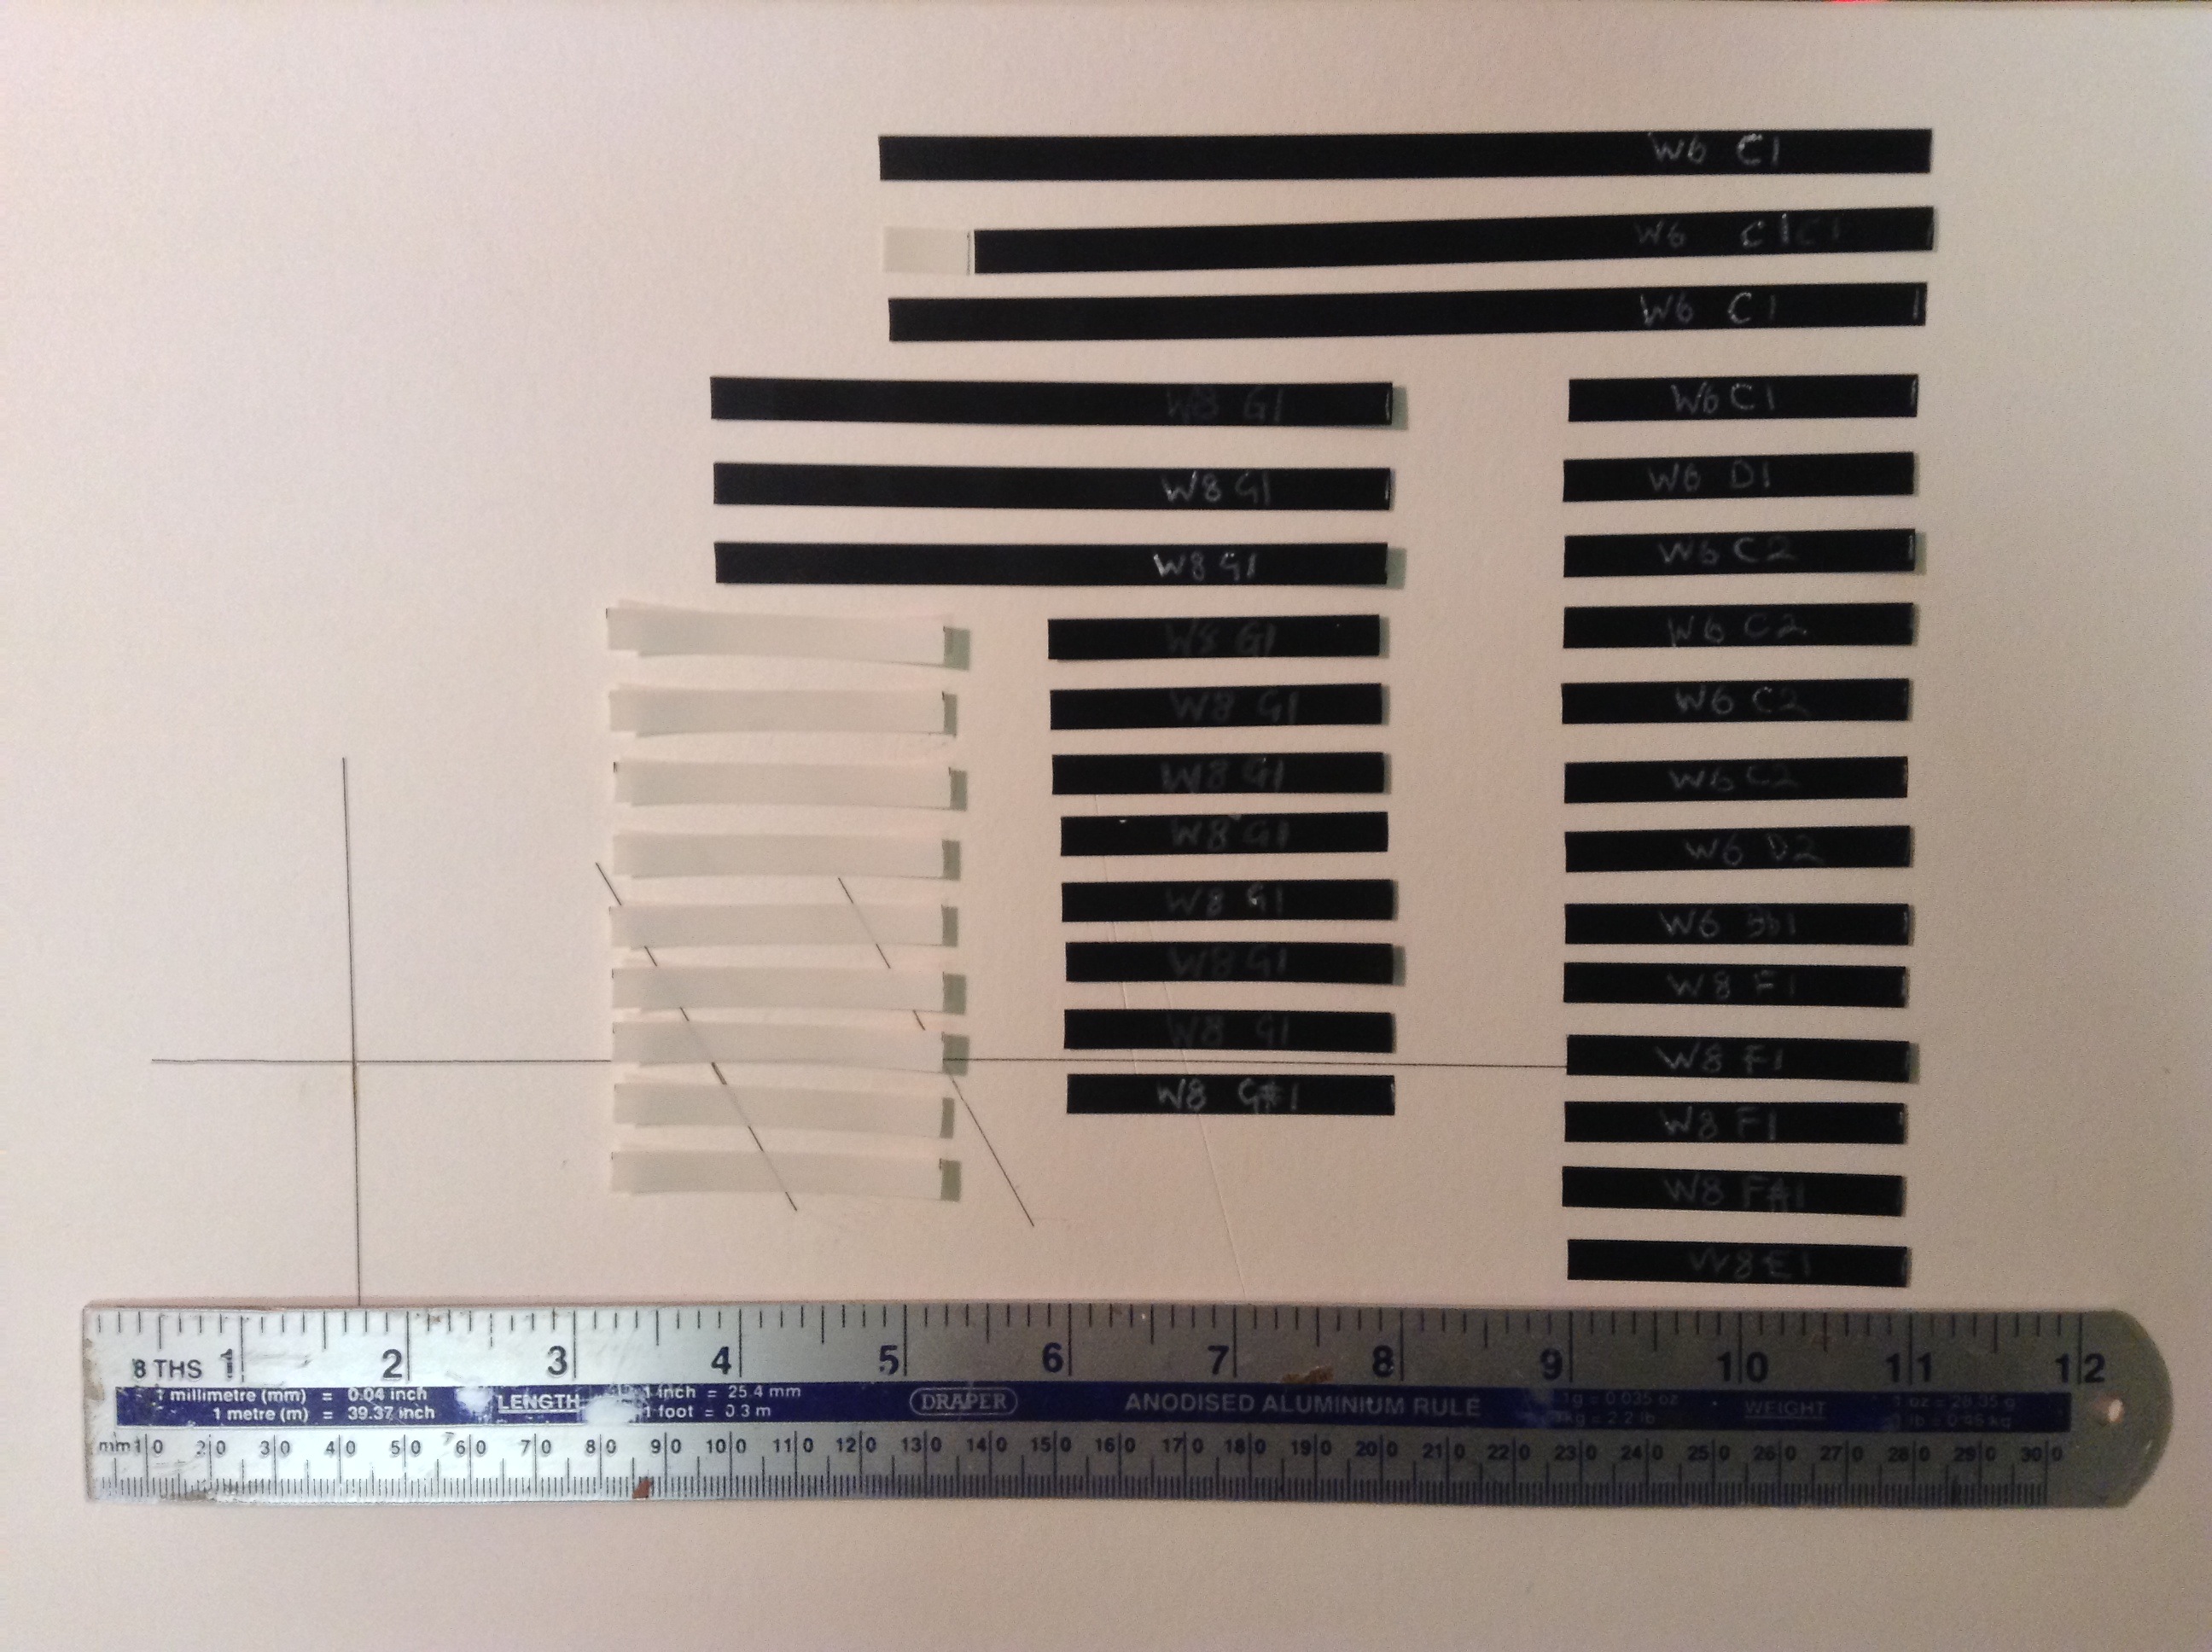
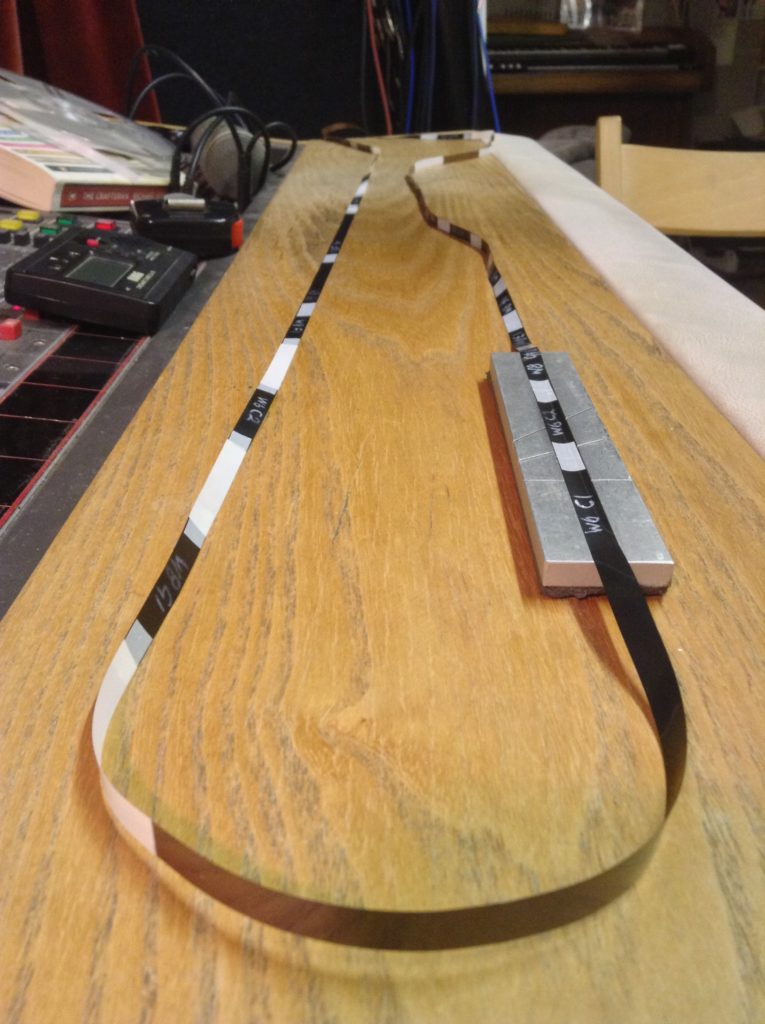
These individual elements were then assembled into a complete tape loop.
Rhythm track
I followed a similar procedure to the melody to form a rhythm track that could play in sync with the melody. Various clicks, scratches and noisy sounds were extracted from the What Are the Benefits of Sound? tapes. These were subjected to various forms of compression and EQ, and some elements had reverb or delay added through re-recording. Cutting and assembling followed the same procedure as the melody.
In the meantime I had decided the whole thing needed to be one quaver longer, so I also re-edited the melody loop to add a quaver rest to the end. Getting these two quite long loops to synchronise was extremely difficult, and engendered a new-found respect for Delia Derbyshire and others at the Radiophonic Workshop, whose work involved a great deal of very precise rhythmic synchronisation.
Finding a sound on tape, extracting and forming a loop
Although I didn’t document the process of finding the sounds on tape for the melody and rhythm above, I did document a similar process for a presentation I gave on ‘musical materialities’. The following video shows me ‘rocking’ the reels in order to locate the transient at the start of a vibraphone note, then marking the point with a chinagraph pencil. You then see me find the point at the start of the third note and marking that, before marking the end of the third note. I then pull the tape off the machine, into the splicing block and cutting where I’ve marked. Before I make the second cut you see me mark the start of the piece of tape to be extracted: this is so it does not get inadvertently reversed. I go on to cut at the second and then the first mark.
The second video shows me forming the first two notes into a loop with leader tape.
The last video shows the two note vibes loop in play.